At
http://sewingdork.blogspot.com/2010/10/easy-five-step-market-tote-and-its.html , I saw how one blogger turned thrifted pillowcases into reusable shopping bags.
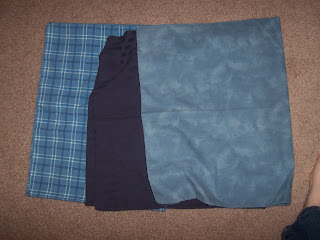
I got these pillowcases at GoodWill on 50% off Saturday for 75 cents to use for my reusable shopping bags.
I made my straps out of heavy denim that I had on hand. The straps are 1.5 inches by 50 inches. I serged around each strap to finish the edges. Then I sewed the straps on 5 inches from the side of the pillowcase to the edge of the strap. Next were the side seams and top edge. The link above includes a tutorial on how she made the bags. Instead of using bias tape to encase the top edge, I just sewed the pillowcase closed on the open side. Also, to make the bag have more of a bottom shape for holding groceries, I sewed each corner in to form the box shape.

I think they turned out cute and we picked out colorspatterns my husband wouldn't mind being seen carrying. I've used them the past 2 weeks and they have already saved me 10 cents at Sprouts and have held up for carrying groceries without a problem.
I made the straps a little longer than in the tutorial. I like them a little longer so I can carry them in my hand, over my arm, or over my shoulder.
 I didn't take a before picture, but this shirt used to be larger. I used Jalie pattern 2918 to resize it to a toddler size 2. I have had to adjust the neck size from the pattern. As is, the shirts do not fit over my toddler's head. I have to make the opening 1/8" - 1/4" larger to fit over his head and have had to adjust the neck binding as well.


